Connect your NAS to Seedr over FTP, FTPS, SFTP or WebDAV
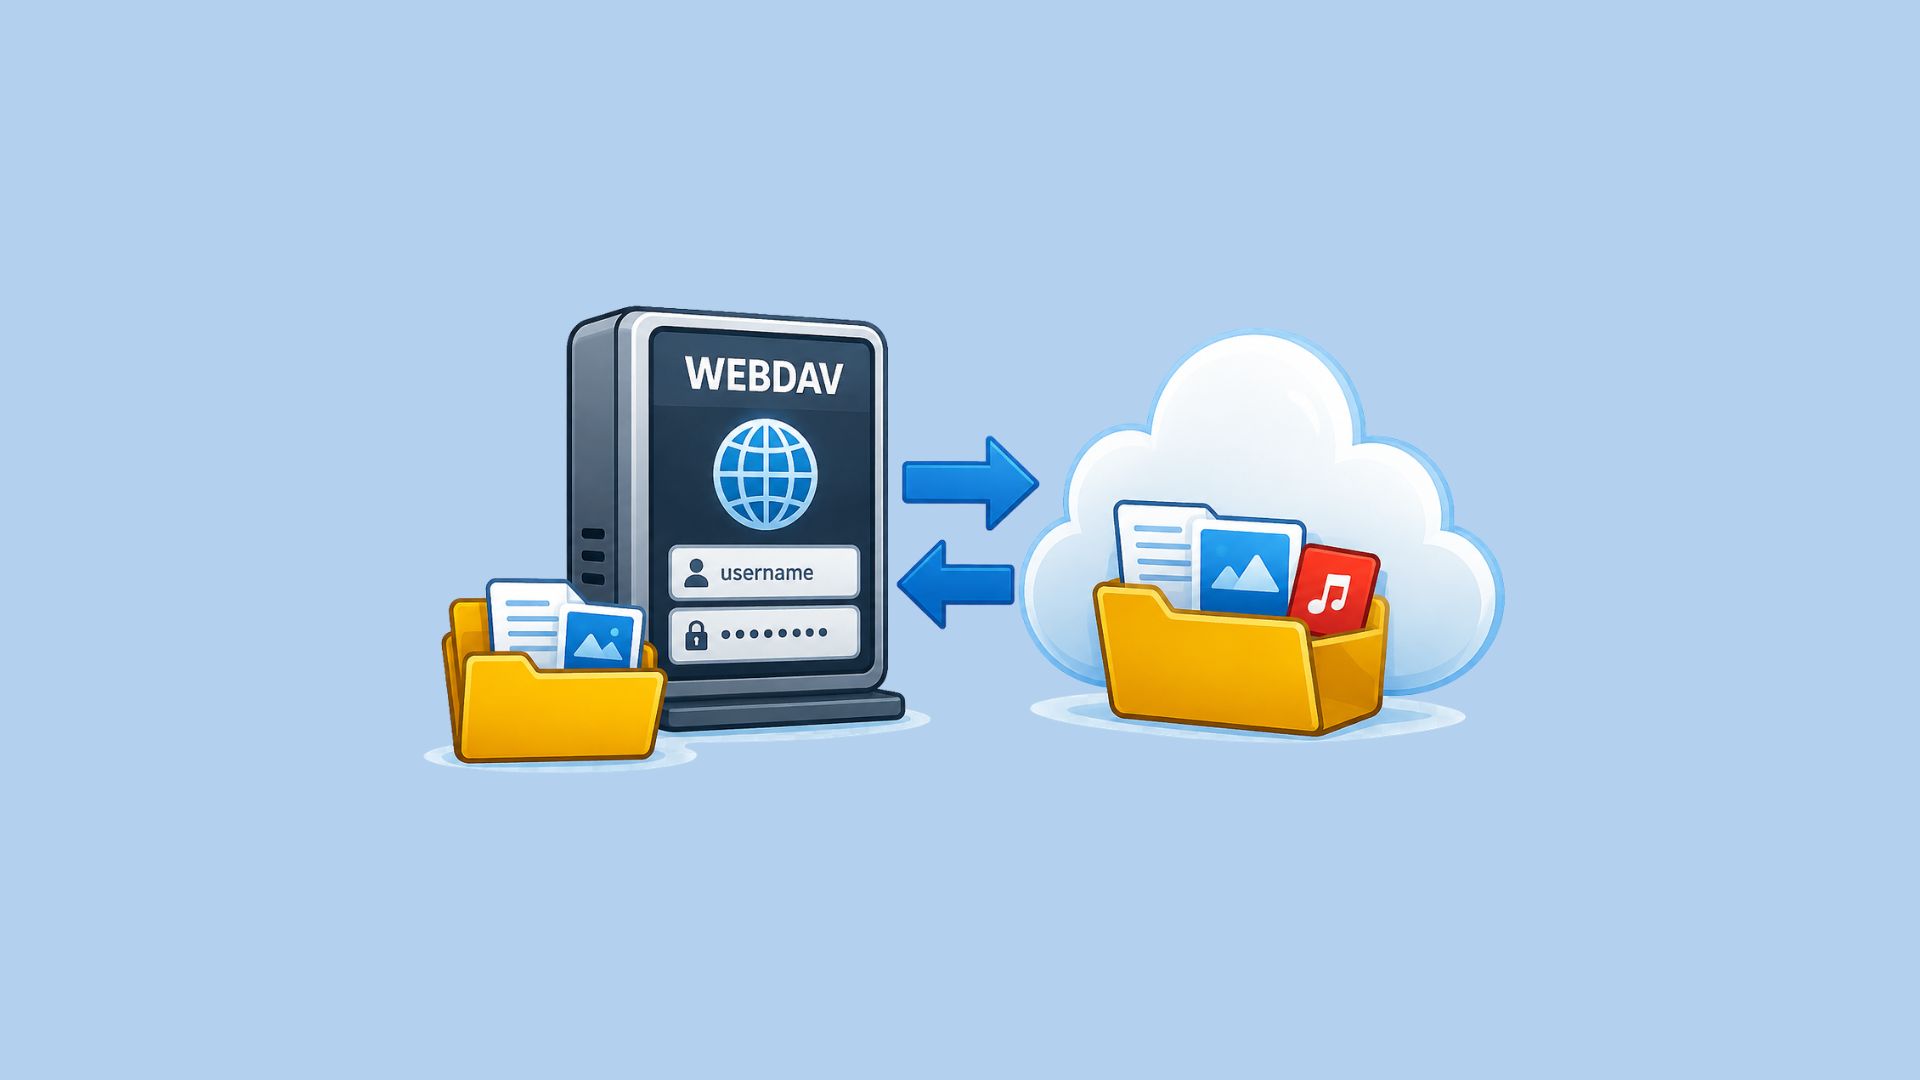
Seedr connects to your NAS so you can browse its files and copy between storages. Choose WebDAV over HTTPS on Synology, explicit FTPS on QNAP or TrueNAS, or an isolated SFTP service on Unraid. Set up one dedicated user and one folder first.
Before you start
Adding your NAS as connected storage in Seedr (Settings → External services, FTP/SFTP/WebDAV) needs Pro and up. Free, Lite and Basic do not include connected storage. This rule applies when Seedr connects to your NAS, including a NAS WebDAV service.
For the opposite direction, where your NAS connects to Seedr: FTP, FTPS and SFTP need Basic and up (Basic, Pro, Master, Gold); Free and Lite do not include them. Seedr WebDAV needs Master and up (Master, Master X2/X3/X5, Gold), excluding Basic and Pro. Upgrade to Basic for those Seedr file endpoints, or Upgrade to Master for Seedr WebDAV. Adding the NAS as connected storage still requires Pro and up.
You need a public hostname, a reachable file-service port and a dedicated NAS user restricted to one folder. Use that NAS user’s credentials here, not a Seedr app password. Keep the NAS admin interface private.
NAS | Start here |
|---|---|
Synology DSM 7 | WebDAV Server: HTTPS |
QNAP QTS 5.2 | QuFTP Service: FTPS |
TrueNAS SCALE 24.x | FTP service: TLS |
Unraid | SFTPGo container: SFTP |
To have your NAS copy or back up Seedr files instead, read Mount Seedr on your NAS. For protocol choices, read Which protocol should your NAS use with Seedr?.
1. Prepare one file service
Synology DSM 7: WebDAV
In Control Panel → User & Group, create a non-admin user. Grant access to one shared folder only and allow WebDAV Server in its application permissions.
Install WebDAV Server from Package Center. Enable HTTPS; its default port is 5006.
Install a certificate matching your public hostname under Control Panel → Security → Certificate and assign it to WebDAV Server. Note the HTTPS service address and share path.
DSM also offers FTPS under Control Panel → File Services → FTP and SFTP under the SFTP tab. Enable only the chosen service. FTPS needs a passive port range as well as its control port.
QNAP QTS 5.2: QuFTP Service
Install QuFTP Service from App Center. Open Control Panel → Network & File Services → QuFTP Service.
Under FTP Server → Users, create an FTP user. Grant access to one shared folder and deny the others; confirm its FTP privilege is enabled.
Under FTP Server → System → General, enable the server and FTP with SSL/TLS (Explicit). Configure a certificate for your public hostname and set the control port, normally 21.
Under System → Connection, define a passive port range. If behind a router, enable Respond with external IP address for passive FTP connection request and enter your public IP. Apply.
QTS 5.2 built-in SFTP uses SSH, which is restricted to administrator accounts. Use restricted-user FTPS or WebDAV here; do not give Seedr administrator credentials.
For WebDAV, use Control Panel → Network & File Services → Win/MAC/NFS/WebDAV → WebDAV. Enable it, choose folder permissions and set a dedicated HTTPS port. Use that port and the restricted user’s share path.
TrueNAS SCALE 24.x: FTPS
Create a dataset and a non-admin local user under Credentials. Set that dataset as the user’s home directory and grant access only there.
Open System Settings → Services in 24.04, or System → Services in 24.10. Edit FTP. Enable Allow Local User Login and chroot to confine sessions to the home directory; disable anonymous access.
In Advanced Settings, enable TLS, select a certificate for your public hostname, set TLS Policy to Ctrl + Data, and define a passive port range. Save and start FTP.
Built-in WebDAV was removed before SCALE 24.x. Use FTPS for this setup. Cloud Sync remains an outbound client for NAS → Seedr; it does not expose a WebDAV service.
Unraid: isolated SFTP
Run a maintained SFTPGo container. Persist its configuration and host keys; map only the share you want to expose as its data directory.
Create a file-transfer user with that mapped folder as its home. Grant list/read permissions, plus write permissions only if needed.
Enable SFTP and note the mapped host port. Keep the container’s web admin private. Obtain the service host-key fingerprint through its trusted local console.
2. Make the service reachable
Service | Forward TCP |
|---|---|
HTTPS WebDAV | Chosen HTTPS port |
SFTP | Chosen SFTP port |
Explicit FTPS | Control + passive range |
Reserve the NAS LAN address in your router. Point your public hostname at your public IP.
Forward only the chosen file-service ports and allow them through the NAS firewall. For FTPS, forward the whole configured passive range too.
Test from outside your home network with a compatible client and the restricted user. Check that it sees only the intended folder. Use the external port in Seedr.
3. Add the NAS in Seedr
Open Settings → External services → Connect a service (or Add another service).
Choose WebDAV, FTP or SFTP. Explicit FTPS uses the FTP form.
Enter the public address, external port and dedicated NAS credentials. For FTP, choose FTPS (Explicit) and keep Passive enabled. For WebDAV, enter the full HTTPS file-service URL with its share path.
Verify the server identity as described below. Connect, open Files and test one small file before larger transfers.
Form | Enter |
|---|---|
WebDAV | HTTPS URL; NAS login |
FTP / explicit FTPS | Host; port; NAS login |
SFTP | Host; port; NAS login |
The SFTP form also offers a private key and optional passphrase for servers configured to accept that NAS user’s key. This is login to your NAS, separate from Seedr’s own SFTP endpoint.
Advanced: verify server identity
For SFTP, obtain the host-key fingerprint through a trusted NAS console or operator. A remote scan can collect a candidate key, but cannot prove identity:
ssh-keyscan -p 2022 -t ed25519 nas.example.com > nas_key.candidate
ssh-keygen -lf nas_key.candidate
Replace the host, external port and key type for your service. Compare with the trusted fingerprint before entering Trusted SSH host key (SHA256). On a mismatch, stop and confirm the cause before changing any pin.
For HTTPS or FTPS, use a valid certificate matching the hostname. If you use the Trusted certificate SHA-256 field, compare the candidate fingerprint with the certificate on the trusted NAS first. These commands collect candidates; they do not establish trust. Replace the example ports with your external ports.
HTTPS WebDAV:
openssl s_client -connect nas.example.com:5006 -servername nas.example.com </dev/null 2>/dev/null | openssl x509 -noout -fingerprint -sha256Explicit FTPS needs FTP negotiation before TLS:
openssl s_client -starttls ftp -connect nas.example.com:21 -servername nas.example.com </dev/null 2>/dev/null | openssl x509 -noout -fingerprint -sha256After connecting and troubleshooting
Permissions decide what Seedr can do: browse, create folders, rename, delete or copy files. Keep read-only access if you only need browsing. Index this storage provides search where available. Transfers started in Seedr run on demand; for scheduled jobs, use the NAS-side setup in Mount Seedr on your NAS.
Problem | Check |
|---|---|
Timeout | Public IP; forwarded ports |
FTPS listing hangs | Passive range; public IP |
WebDAV 404 / 405 | Service URL and share path |
Login fails | User rights and password |
Identity mismatch | Trusted console/operator |
If the connected-storage allowance is full, check External services. To retire the connection, disconnect it there, disable its NAS user and close the forwarded ports. Keep NAS software and file-service packages updated.
Was this article helpful?
Related Articles

Which protocol should your NAS use with Seedr?
Compare FTP, FTPS, SFTP and WebDAV for NAS cloud storage: speed, security, resumable transfers and firewall setup, with the pick for each use case.
Mount Seedr on your NAS (WebDAV, SFTP, FTPS)
Sync, back up or mount Seedr on Synology, QNAP, TrueNAS SCALE or Unraid over WebDAV, SFTP or FTPS. Endpoints, app password and step-by-step setup.

How to open HEIC photos online on Windows, Android, or any browser
Open iPhone HEIC photos from any device in Seedr’s cloud viewer — no conversion, no codecs, no extra apps — and keep them organized alongside your other files.